Product successfully added to your shopping cart
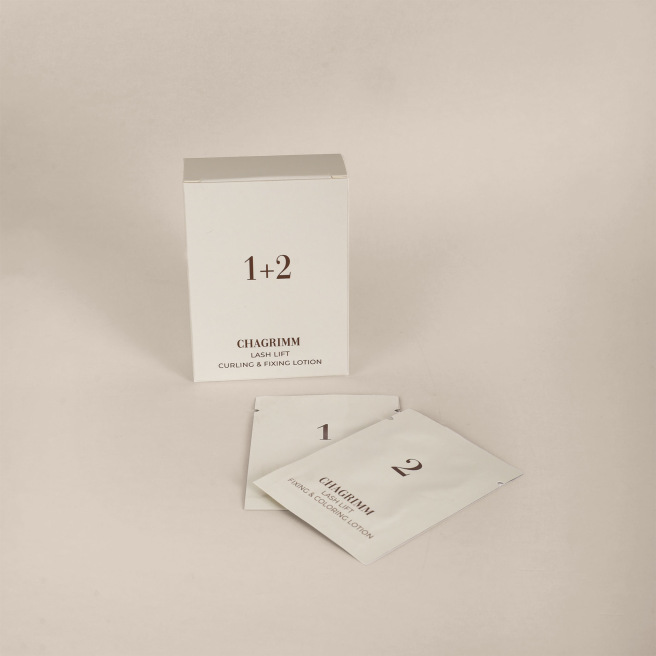
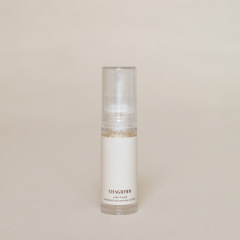
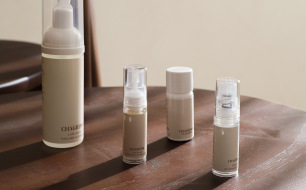
MIX unidose lash lift - Step 1 & 2 Fast System Chagrimm
Box of 10 single-dose sachets of 1ml
- 1 sachet = 1 use
- This product contains : 5 dose of step 1 & 5 dose of step 2
- Quick setting
- Fix and tint in just 1 step
- Guaranteed efficiency
- Made in Europe
- Vegan and Cruelty free
More info
The advantages of the single-dose fast system range:
- 1 sachet = 1 use: If there is any product left, it can be used within 24 hours, if the sachet has been properly closed.
- Quick setting: 3 to 6 minutes exposure time for step 1 and 5 to 6 minutes for step 2.
- Guaranteed effectiveness: even on the most complicated natural eyelashes (plunging eyelashes, etc.).
- Made in Europe in compliance with European standards.
- Vegan & Cruelty free: the products are vegan and cruelty-free.
How to use STEP 1 and 2?
It is recommended to undergo training before using the products. Restricted to professional use only.
It is advisable to carry out an allergic test at least 48 hours before the treatment.
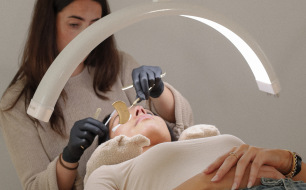
- Start by cleaning your client's eyelashes properly. For this, we recommend using the Chagrimm lash bath with a lip brush. Then rinse well with clean water using your water squeeze bottle and dry.
- Choose the correct pad size for your client. If you want a more pronounced result, the natural lashes should reach the end of the crown. If you want a softer result, the lashes should be around half of the rounded edge of the pad.
- When you place the pad on your client's eyelid, it should run along the main lash line. If it is placed too high your lash lift will not be marked. If you place the pad astride the eyelash fringe, the eyelashes will be bent.
- Lift the eyelashes, making sure to exert sufficient tension, use your lash lifting tool or your comb.
- Apply step 1 up to 3/4 of the lash using a microswab. Leave on for the appropriate amount of time for your client's eyelashes. The exposure time varies between 3 & 6 minutes. The thicker the lashes, the longer you can leave the product on.
- Then continue with step 2.
- With our Step 2 from the single-dose fast system, you can fix and tint in only one step! How?
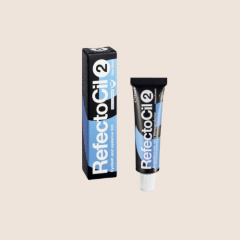
Mix Step 2 with the Refectocil dye (blue black for a more intense finish) in the proportions 1:1. Then apply the mixture to the entire length of your client's lash. Leave on for 6 minutes and then wipe off. It is important to strictly adhere to the 1:1 proportions so that the dye sets correctly and the fixing step is effective.
If you do not want to dye, simply apply step 2 without mixing it with the dye. The effect will be the same but without coloring.
Then continue with a treatment such as the vitamin mascara or lash fiiller.
What is the advantage of the single-dose fast system range?
Undeniably a time saver! Indeed, thanks to the fact that you can now set and tint lashes in one step, you will be able to achieve your lash lift from start to finish in just 30 minutes. This is a significant asset in terms of profitability.
Should we cover the lotion when it is applied?
The products are very effective without having to cover your client's eyelashes with plastic or paper. We therefore recommend that you apply the product in a fairly thick layer and do not cover it.
How to store curling lotion:
This product should be stored under stable conditions. The product, when still enclosed in its sachet, can be stored for up to 2 years (refer to the expiration date indicated on the sachet itself). A simple technique will allow you to keep a single-dose sachet for about 7 days and perform with it between 1 and 3 lash lifts. Note that this is only valid if the bag has been properly closed. If the opened sachet is not properly closed, the product will oxidize, which will reduce its effectiveness to nothing. Click here to view the demonstration video.
Tips for the lash lifting:
We offer a trial kit, which will allow you to test STEP 1 and 2 (1 single-dose sachet of each). It is also possible to buy both lotions in smaller quantities (5 sachets of each).
Regarding the pads, we highly recommend that you use the soft touch pads which will offer you ease of work and therefore allow you to work faster.
Precautions for use:
Product to be stored in stable conditions. External use only. Keep out of the reach of children. In case of contact with eyes contact your doctor. Flammable product.
Download
Accessories
-
-
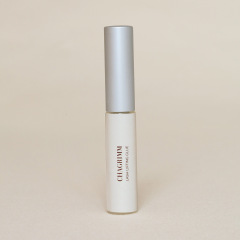
8ml Chagrimm Lash Lifting Glue
24,08 € -
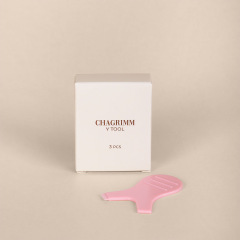
Y Tool - Lash Lifting Comb
4,95 €
Questions / Answers
8 questions
-
Question from Lyse
Ces produits sont ceux pour le browlift aussi ?
Answer from Chagrimm
-
Question from Véréna
Bonjour, est-ce que je peux appliquer la step 2 mélangée à de la teinture également sur les cils du bas ? Car personnellement je teinte toujours les cils du haut et du bas, et les clientes demandent toujours également de teindre les deux. Merci pour votre réponse.
-
Question from Laury
Bonjour, Je souhaiterais avoir une confirmation concernant le step 2. Si on ne souhaite pas teinter c’est cils on ne met tout simplement pas la teinture au step 2, mais c’est par rapport à l’application du step 2 on peut le mettre également sur toute la surface du cil ? Ou étant donné qu’il est tout seul on l’applique sans toucher les bouts des cils comme le step 1 ? Merci à vous par avance
Reviews
1 review
-
Aleksandra
You must log in to give a review


